Sure, it’s your job to link up the entirety of Mexico and Australia to the chiral network, but that doesn’t mean you shouldn’t be rewarded for your hard work. Every facility in Death Stranding 2 will give you new items and blueprints to make your journey easier. Here’s a breakdown of all connection level rewards in Death Stranding 2.
All Connection Level Rewards in Death Stranding 2
There are a total of 36 facilities in Australia in Death Stranding 2, and six in Mexico. Each of these can be ranked up to five stars, and you’ll typically get a new unlock with each new star you get. It can definitely be a grind, but most of the rewards are well worth the effort. This article will be broken up into separate sections for Mexico and Australia. You’ll be able to peruse the rewards list and pick and choose the ones you want to prioritize.
Mexico Connection Level Rewards
First off, here are all the facilities and their connection level rewards in Death Stranding 2. Villa Libre is worth hitting up if you want to adopt a melee playstyle, while the South Distribution Center gives you early access to some powerful Assault Rifles.
| Facility | Connection Level Rewards |
|---|---|
| Ciudad Nudo del Norte | Rank 1: Blood Bag, Container Repair Spray, Ladder, Climbing Anchor, Transporter boots, Assault Rifle (MP) Lvl 1, Maser Handgun Rank 2: Machine Pistol (MP) Rank 3: SL Machine Pistol (MP) Rank 4: Big Bore Handgun (MP) Rank 5: Custom Hologram: Noberto Puento, Patch 31: Mexico Cryptobiote |
| Villa Libre | Rank 1: PCC Lvl 1 (Watchtower, Postbox) Rank 2: Custom Electric Rod Rank 3: Custom High-Voltage Rod Rank 4: Custom Twin Rod Rank 5: Custom Hologram: La Madre, Patch 54: Chiral Rodent |
| C1 South Distribution Center | Rank 1: Blood Grenade, PCC Lvl 1 (Timefall Shelter) Rank 2: EX Grenade Rank 3: Blood Grenade Lvl 2 Rank 4: Assault Rifle (MP) Lvl 2 Rank 5: Custom Hologram: Benjamin Rivera, Patch 25: Smile, APAS Enhancement: Improved Cannon Cooldown |
| Former Geophysics Research Lab | Rank 1: MP Bullet Anti-BT Effect, PCC Lvl 1 (Generator, Bridge) Rank 2: Tri-Cruiser Additional Armor Rank 3: LW Assault Rifle (MP) Lvl 1 Rank 4: LW Assault Rifle (MP) Lvl 2 Rank 5: Custom Hologram: Deadman, Custom Hologram: Alex Weatherstone, Patch 57: Tri-Cruiser |
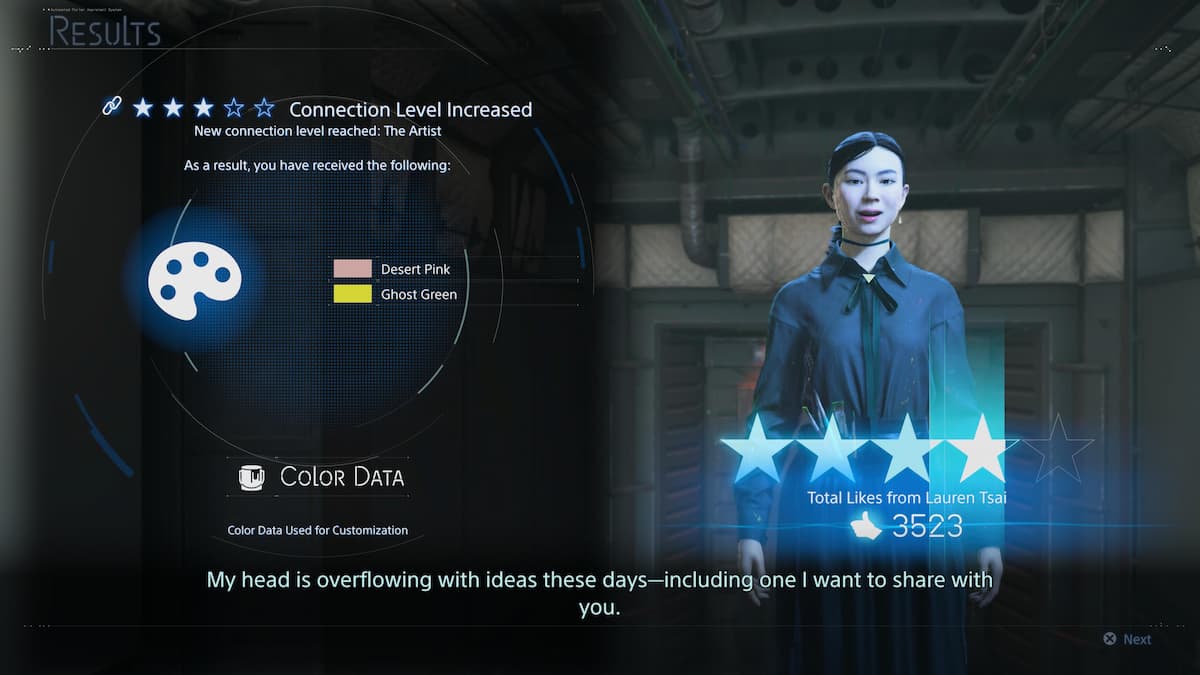
| The Artist | Rank 1: Coyote Brown, Bright Yellow Rank 2: Navy Blue, Volcano Orange Rank 3: Desert Pink, Ghost Green Rank 4: Express Purple, Signal Green Rank. 5: Sand Tan, Rose Pink, Hologram: Lauren Tsai, Patch 49: BT Magniceps |
| The Bokka | Rank 1: Trekking Boots Rank 2: Sticky Gun Rank 3: Patch 9: Porter Rank 4: Backpack Accessory: Porter Rank 5: Custom Hologram: The Bokka, Patch 42: Porter |
Australia Connection Level Rewards
And here are the facilities in Australia and their corresponding connection level rewards in Death Stranding 2.
| Facility | Connection Level Rewards |
|---|---|
| Government’s Base | Rank 1: Bola Gun Rank 2: Backpack Data: Chiral Antigravity Device Rank 3: Backpack Data: Large Spare Ammo Container Lvl 1 Rank 4: Backpack Data: Large Spare Ammo Container Lvl 2 Rank 5: Custom Hologram: Old Oz, Patch 32: Australian Cryptobiote |
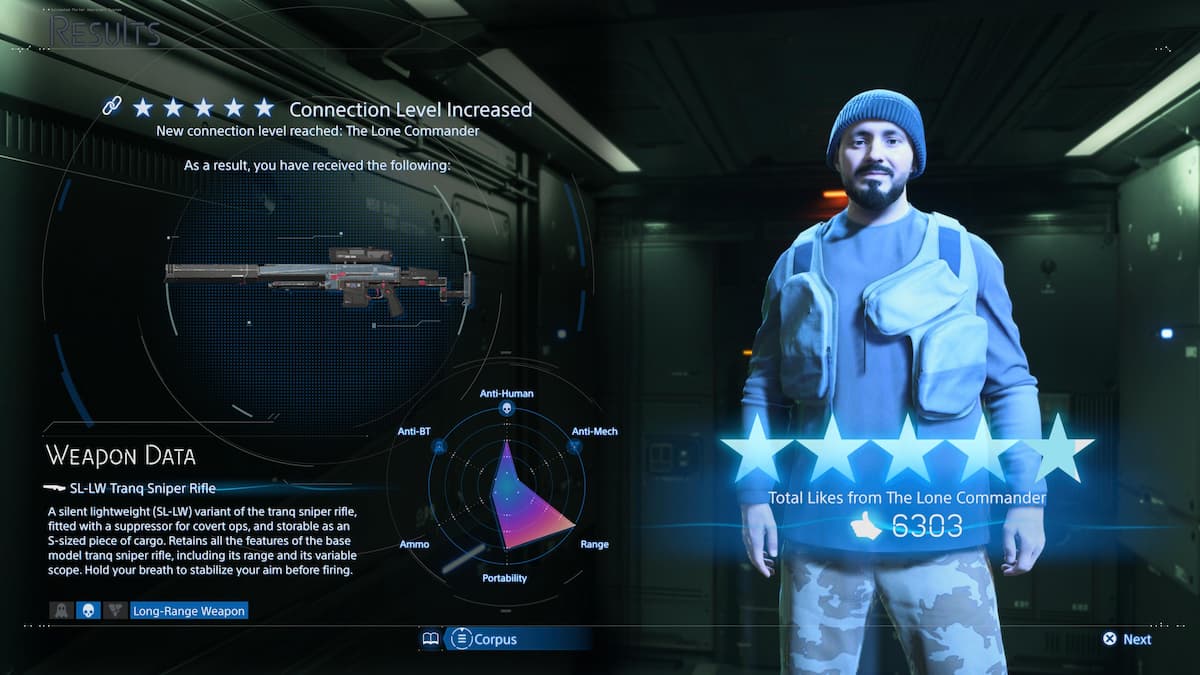
| The Lone Commander | Rank 1: Tranq Sniper Rifle Rank 2: Smoke Grenade Rank 3: SL Tranq Handgun Rank 4: LW Tranq Sniper Rifle Rank 5: SL-LW Tranq Sniper Rifle, Custom Hologram: The Lone Commander, Patch 26: ! |
| Western Environmental Observatory | Rank 1: Battle Skeleton Lvl 1, Grenade Pistol, MP Grenade Rank 2: Backpack Data: Electrical Shock Absorber Rank 3: Battle Skeleton Lvl 2 Rank 4: Battle Skeleton Lvl 3 Rank 5: Custom Hologram: Peter Gates, Patch 58: Pickup Off-Roader |
| The Musician | Rank 1: Shotgun (MP) Lvl 1 Rank 2: LW Shotgun (MP) Lvl 1 Rank 3: Shotgun (MP) Lvl 2 Rank 4: LW Shotgun (MP) Lvl 2, Private Room Item: Licky Sticky Rank 5: Custom Hologram: Gen Hoshino, Patch 58: I Love BB |
| West Fort Knot | Rank 1: Floating Carrier Lvl 1, Pickup Off-Roader Rank 2: Battery Unit Lvl 1 Rank 3: Floating Carrier Lvl 2 Rank 4: Battery Unit Lvl 2 Rank 5: Custom Hologram: Olivia Westbury, Patch 61: Monorail |
| Rainbow Valley | Rank 1: Tar Cannon Rank 2: Backpack Data: Solar Generator Rank 3: Backpack Data: Mini Extra Battery Rank 4: Battery Accessory: Electrobiote Rank 5: Custom Hologram: Glenn Rain, Patch 33: Electrobiote |
| Rainy’s Shelter | Rank 1: N/A. Rank 2: N/A. Rank 3: N/A. Rank 4: N/A. Rank 5: Custom Hologram: Rainy, Custom Hologram: Rainbow Lorikeet, Patch 68: Rainbow Lorikeet |
| Animal Shelter | Rank 1: Decoy Hologrenade Rank 2: Stealth Hologrenade Rank 3: BT Hologrenade Rank 4: Battery Accessory: Quokka Rank 5: Custom Hologram: Animal Shelter Staff, Custom Hologram: Quokka, Patch 28: Animal, Rest at Animal Shelter |
| Northern Environmental Observatory | Rank 1: Porter Suit: Squares, Blood Boomerang Rank 2: Guidepost Rank 3: Backpack Data: Utility Pouch Rank 4: Backpack Accessory: Bell Rank 5: Custom Hologram: Mike Northcote, Patch 65: Blood Boomerang |
| F2 South Distribution Center | Rank 1: Combat Boots, Sticky Cannon, Heavy Machine Gun Rank 2: Combat Power Gloves Lvl 1 Rank 3: Combat Power Gloves Lvl 2 Rank 4: Backpack Accessory: Boxing Kangaroos Rank 5: Custom Hologram: Samson Hook, Patch 69: Boxing Kangaroos |
| The Dowser | Rank 1: PCC Lvl 2 (Zip-Line), Boost Skeleton Lvl 1 Rank 2: Porter Suit (Desert Green) Rank 3: Boost Skeleton Lvl 2 Rank 4: Boost Skeleton Lvl 2 Rank 5: Custom Hologram: The Dowser, Patch 34: Chlorobiote |
| Heartman’s Lab | Rank 1: Extra Battery Lvl 1, PCC Lvl 2 (Jump Ramp, Safe House) Rank 2: Extra Battery Lvl 2 Rank 3: Extra Battery Lvl 3 Rank 4: Extra Battery Lvl 4 Rank 5: Custom Hologram: Heartman, Custom Hologram: Hydrologist, Patch 29: Hot Spring |
| The Pizza Chef | Rank 1: Machine Gun (MP) Lvl 1 Rank 2: Rubber Pizza, Secrets of Pizza-Do Acrobatic Karate: Striking Rank 3: Machine Gun (MP) Lvl 2, Secrets of Pizza-Do Acrobatic Karate: Kicking Rank 4: Secrets of Pizza-Do Acrobatic Karate: Slamming Rank 5: Pizza Chef’s Suit, Pizza Chef’s Boots, Pizza Chef’s Hat, Custom Hologram: The Pizza Chef |
| The Data Scientist | Rank 1: Porter Suit (AI Camo), Sneaking Boots, SL-LW Assault Rifle (MP) Lvl 1 Rank 2: Nousagi hat Rank 3: N/A Rank 4: SL-LW Assault Rifle (MP) Lvl 2 Rank 5: Custom Hologram: The Data Scientist, Patch 27: Love It! |
| The Motherhood | Rank 1: N/A Rank 2: BB Pod Pattern Customization Rank 3: High-Capacity Blood Bag Rank 4: Auto-Resuscitation Device Rank 5: Custom Hologram: The Doctor, Patch 38: BB in Pod |
| The Mechanic | Rank 1: Coffin Board, Private Room Item: Instant Camera Rank 2: Backpack Data: Chiral Antigravity Device Rank 3: Vehicle Part: Mortar Rank 4: Vehicle Part: Rocket Launcher Rank 5: Custom Hologram: The Mechanic, Patch 59, Coffin Board |
| East Fort Knot | Rank 1: Bokka Skeleton Lvl 1 Rank 2: Porter Suit: Snow Roads Rank 3: Bokka Skeleton Lvl 2 Rank 4: Bokka Skeleton Lvl 2 Rank 5: Custom Hologram: Leon Easton, Patch 39: BB Pod Tentacle |
| The Chronobiologist | Rank 1: Backpack Accessory: Cryptobiote Rank 2: Backpack Accessory: Chiral Tea Rank 3: Backpack Accessory: Love Knot Rank 4: Sign: Cryptobiote Roulette Rank 5: Custom Hologram: The Chronobiologist, Patch 36: Chronobiote |
| The Metagenomicist | Rank 1: EX Capture Grenade Rank 2: Chiral Rodent Hat Rank 3: APAS Enhancement: Chiral Crystal Yield Boost Rank 4: Chiral Spider Hat Rank 5: Custom Hologram: The Metagenomicist, Patch 55: Chiral Spider |
| F5 East Distribution Center | Rank 1: Porter Suit: Junji Ito, Grenade Launcher (MP), PCC Lvl 2 (Cargo Catapult) Rank 2: Absolute Boots Rank 3: LW Grenade Launcher (MP) Rank 4: Ludens Duck Color Data Rank 5: Custom Hologram: Viktor Frank, Patch 1: Ludens |
| The Adventurer | Rank 1: Climbing Power Gloves Lvl 1 Rank 2: Thermal Pad Rank 3: Climbing Power Gloves Lvl 2 Rank 4: Porter Suit: Rescue Rank 5: Custom Hologram: The Adventurer, Patch 35: Necrobiote, Patch 46: BT Bestia |
| Eastern Environmental Observatory | Rank 1: Oxygen Mask Rank 2: Backpack Data: Stabilizer Lvl 1 Rank 3: Backpack Data: Stabilizer Lvl 2 Rank 4: Backpack Data: Stabilizer Lvl 3 Rank 5: Custom Hologram: Ridge Frost, Patch 43: Like |
| The Phantom Smith | Rank 1: Vehicle Part: Chiral Shock Cannon Rank 2: Vehicle Part: Multirocket Launcher Rank 3: Santa Hat Rank 4: Vehicle Part: LW Multirocket Launcher Rank 5: Custom Hologram: The Phantom Smith, Patch 51: BT Rala |
| South Fort Knot | Rank 1: Vehicle Part: Chiral Cannon, Vehicle Part: Spiked Tires Rank 2: Vehicle Part: Active Defense System Rank 3: Vehicle Part: Electrical Defense Unit Rank 4: Grass Green Rank 5: Custom Hologram: Pierre Southern, Patch 56: DHV Magellan |
| Southern Environmental Observatory | Rank 1: N/A Rank 2: LW Machine Gun (MP) Lvl 1 Rank 3: Blood Red Rank 4: LW Machine Gun (MP) Lvl 2 Rank 5: Custom Hologram: Gregory Southall, Patch 66: Higgs’ Guitar |
| F7 North Distribution Center | Rank 1: Quadruple Rocket Launcher Rank 2: Patch 5: Fragile Express Rank 3: LW Seven-Rocket Launcher Rank 4: Rainbow Purple Rank 5: Custom Hologram: Bianca North, Patch 60: Monobike |
| Terminal Fort Knot | Rank 1: N/A Rank 2: Patch 53: Chiral Mammal Rank 3: Lightning Blue Rank 4: Patch 45: BT Octopoid Rank 5: Custom Hologram: James Ender, Patch 52: BT Megalocarcinus |
| The Inventor | Rank 1: Otter Hood Rank 2: Stun Bomb Rank 3: Remote Stun Bomb Rank 4: Bola Stun Gun Rank 5: Custom Hologram: The Inventor, Patch 63: Otter Hood |
| The Architect | Rank 1: PCC Lvl 2 (Chiral Bridge) Rank 2: Electric Trap Rank 3: APAS Enhancement: Construction Speed Boost Rank 4: Architect Repairs Rank 5: Custom Hologram: The Architect, Patch 40: Wooden Blocks |
| The Pioneer | Rank 1: Deployable Shield Rank 2: Camel Hood Rank 3: DHV Magellan Data: Fireworks Rank 4: Porter Suit: Desert Red Rank 5: Custom Hologram: The Pioneer, Patch 64: Camel Hood |
| The Ghost Hunter | Rank 1: Porter Suit: Woodland, Rocket Box (MP) Rank 2: N/A Rank 3: Phantom Gas Grenade Rank 4: Backpack Data: Large Grenade Pouch, Patch 50: BT Kheir Rank 5: Custom Hologram: The Ghost Hunter, Patch 47: BT Gigas |
| The Fisherman | Rank 1: RD Grenade Launcher (MP) Rank 2: Backpack Cover Lvl 1 Rank 3: LW-RD Grenade Launcher (MP) Rank 4: Backpack Cover Lvl 2 Rank 5: Custom Hologram: The Fisherman, Patch 48: BT Cetus |
| The Aeronautical Engineer | Rank 1: Floating Sentry Gun, PCC Lvl 2 (Cargo Catapult Structure Improvement) Rank 2: Blood Boomerang Lvl 2 Rank 3: Goggles Rank 4: PCC Lvl 2 (Jump Ramp Structure Improvement) Rank 5: Custom Hologram: The Aeronautical Engineer, Patch 51: BT Raia |
| The Tar Therapist | Rank 1: DHV Magellan Data: Golden Hunters Rank 2: Canteen Lvl 2 Rank 3: Sign: To Another World Rank 4: Emergency Yellow Rank 5: Custom Hologram: Tar Therapist, Patch 4: Handprint |
| BPAS | Rank 1: APAS Enhancement: Super Chiralium Extraction Rank 2: APAS Enhancement: Super Balance Assistance Rank 3: APAS Enhancement: Super Enhancement Switch Rank 4: APAS Enhancement: Super Aim Assistance Rank 5: APAS Enhancement: Super EM Plasma, Custom Hologram: BPAS, Patch 3: APAS |
| Mr. Impossible | Rank 1: Omnireflector, Custom Hologram: Die-Hardman Praise Rank 2: Chiral Gold, Custom Hologram: Die-Hardman Dance Rank 3: Red Mask Lvl 2, Custom Hologram: Red Samurai Rank 4: Golden Mask Lvl 2, Custom Hologram: Higgs Rank 5: Custom Hologram: Mr. Impossible, Patch 67: Impossible Shape, Private Room Item: Chiral Structure |
How to Increase Connection Level Quickly
The best way to increase your connection level is by taking on Sub-Orders or Standard Orders at a facility. Sub-Orders are like optional quests, while Standard Orders are repeatable quests that will refresh every few hours.
After that, your best bet would be to deliver Lost Cargo. These packages can be found randomly scattered across the open-world, so scan for them and pick them up, then deliver them to increase your connection level. One key thing to note is that there can only be a set number of Lost Cargo packages in the open-world. If you keep ignoring packages from specific facilities, eventually you may find yourself in a situation where no other Lost Cargo packages can spawn because those open-world slots are full.
To get around this, pick up the packages even for the facilities you no longer need to rank up. Deposit them in Postboxes or entrust them at other facilities to get more Likes instead.
Do You Need to Reach 5 Stars?
Generally speaking, no. Reaching 4 stars is good enough if you want to get every piece of gear in Death Stranding 2. The Rank 5 rewards are usually cosmetic, with the exception of BPAS, which unlocks an APAS Enhancement for Sam.
Other than that, all the Rank 5 rewards are cosmetic and completely optional. Most of the other connection level rewards can be considered optional as well, as you should be able to make do with the gear the game gives you just by following the main story path. Of course, if you want even more fun toys to play around with, then absolutely. Try to hit 4 stars as much as you can while playing the game.


