Death Stranding 2 may be all about the deliveries, but you can’t escape combat either. Whether you’re fighting humans or BTs, you’re going to need a good arsenal of weapons to handle those threats. Our Death Stranding 2 weapons guide will go over all of the weapons available in-game, how to get them, and which are the best ones to use for all play styles. It’s gonna be a lengthy one, so buckle up and get comfy.
How to Get All Weapons in Death Stranding 2
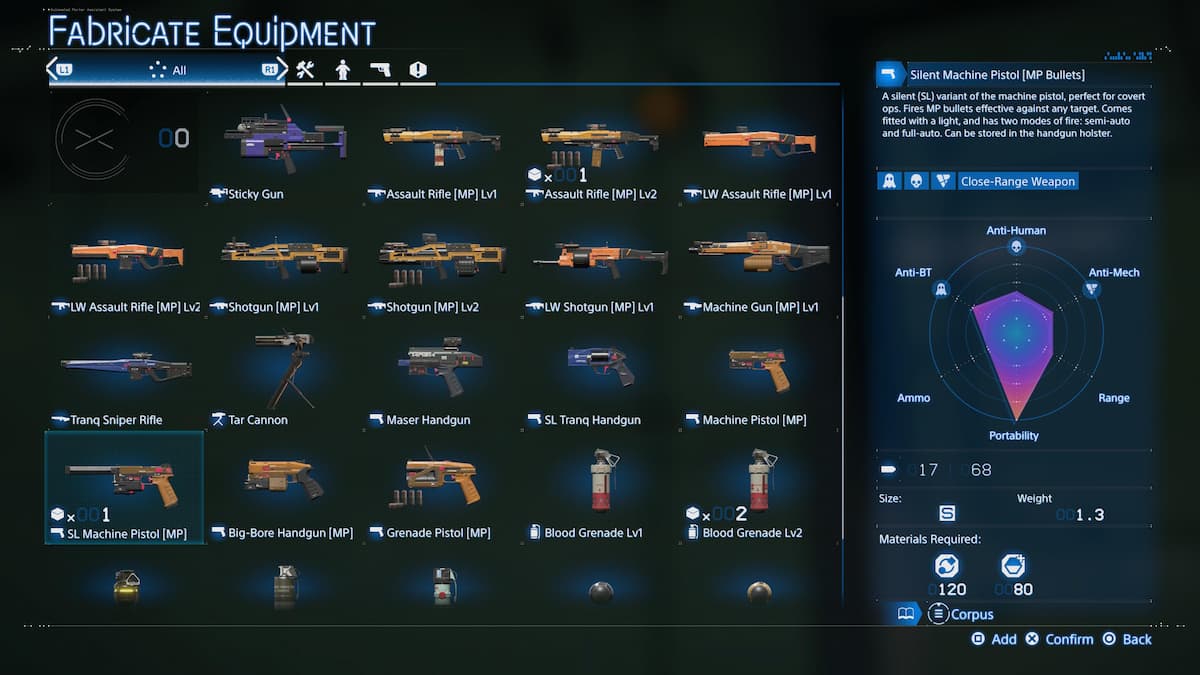
Let’s start with the good stuff. Here’s a list of all weapons available in Death Stranding 2 and how to get them.
| Weapon | How to Get |
|---|---|
| Maser Handgun | Unlocked by default. |
| Grenade Pistol | Episode 3: Complete Main Order 10. |
| MP Grenade | Episode 3: Complete Main Order 10. |
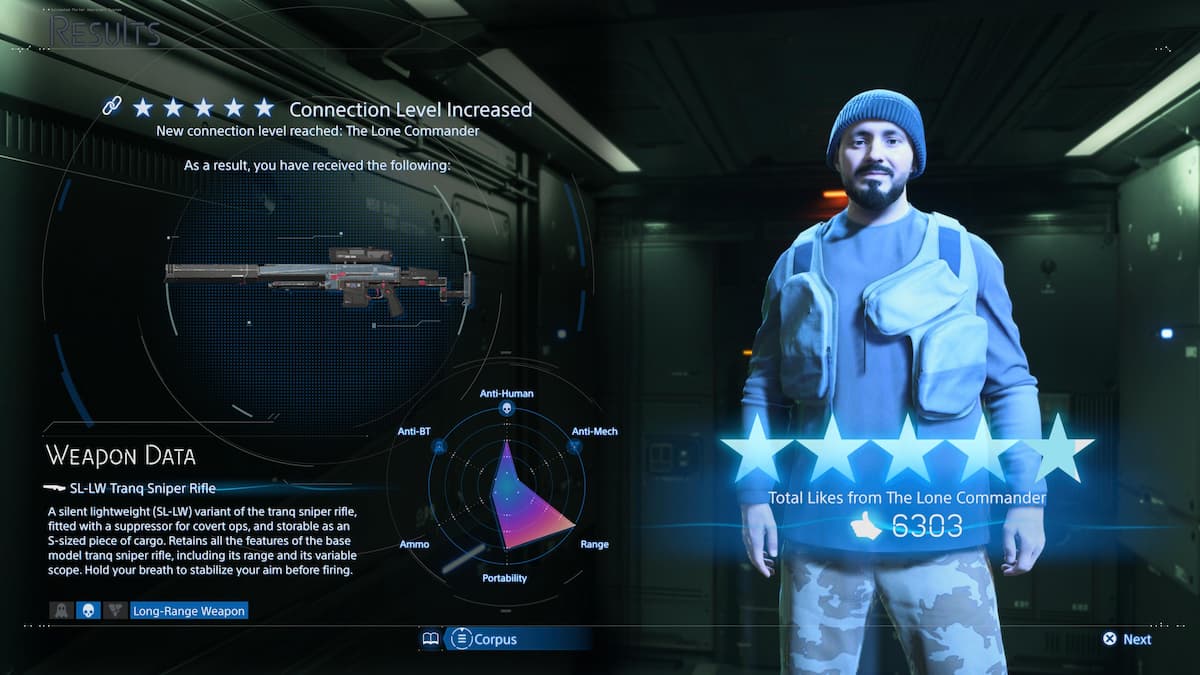
| Tranq Sniper Rifle | The Lone Commander Rank 1 |
| Smoke Grenade | The Lone Commander Rank 2 |
| SL Tranq Handgun | The Lone Commander Rank 3 |
| LW Tranq Sniper Rifle | The Lone Commander Rank 4 |
| SL-LW Tranq Sniper Rifle | The Lone Commander Rank 5 |
| Stun Bomb | The Inventor Rank 2 |
| Remote Stun Bomb | The Inventor Rank 3 |
| Bola Stun Gun | The Inventor Rank 4 |
| Shotgun (MP) Lvl 1 | The Musician Rank 1 |
| LW Shotgun (MP) Lvl 1 | The Musician Rank 2 |
| Shotgun (MP) Lvl 2 | The Musician Rank 3 |
| LW Shotgun (MP) Lvl 2 | The Musician Rank 4 |
| Machine Gun Lvl 1 | The Pizza Chef Rank 1 |
| Machine Gun (MP) Lvl 2 | The Pizza Chef Rank 3 |
| SL-LW Assault Rifle (MP) Lvl 2 | The Data Scientist Rank 4 |
| Electric Trap | The Architect Rank 1 |
| Deployable Shield | The Pioneer Rank 1 |
| Fireworks (DHV Magellan) | The Pioneer Rank 3 |
| Mortar (Off-Roader) | The Mechanic Rank 3 |
| Rocket Launcher (Off-Roader) | The Mechanic Rank 4 |
| Phantom Gas Grenade | The Ghost Hunter Rank 3 |
| EX Capture Grenade | The Metagenomicist Rank 1 |
| RD Grenade Launcher (MP) | The Fisherman Rank 1 |
| LW-RD Grenade Launcher (MP) | The Fisherman Rank 3 |
| Chiral Shock Cannon | The Phantom Smith Rank 1 |
| Multirocket Launcher | The Phantom Smith Rank 2 |
| LW Multirocket Launcher | The Phantom Smith Rank 4 |
| Floating Sentry Gun | The Aeronautical Engineer Rank 1 |
| Machine Pistol (MP) | C1 Ciudad Nudo del Borte Rank 2 |
| SL Machine Pistol (MP) | C1 Ciudad Nudo del Borte Rank 3 |
| Big-Bore Handgun (MP) | C1 Ciudad Nudo del Borte Rank 4 |
| Custom Electric Rod | Villa Libre Rank 2 |
| Custom High-Voltage Rod | Villa Libre Rank 3 |
| Custom Twin Rod | Villa Libre Rank 4 |
| Blood Grenade Lvl 1 | C1 South Distribution Center Rank 1 |
| EX Grenade | C1 South Distribution Center Rank 2 |
| Blood Grenade Lvl 2 | C1 South Distribution Center Rank 3 |
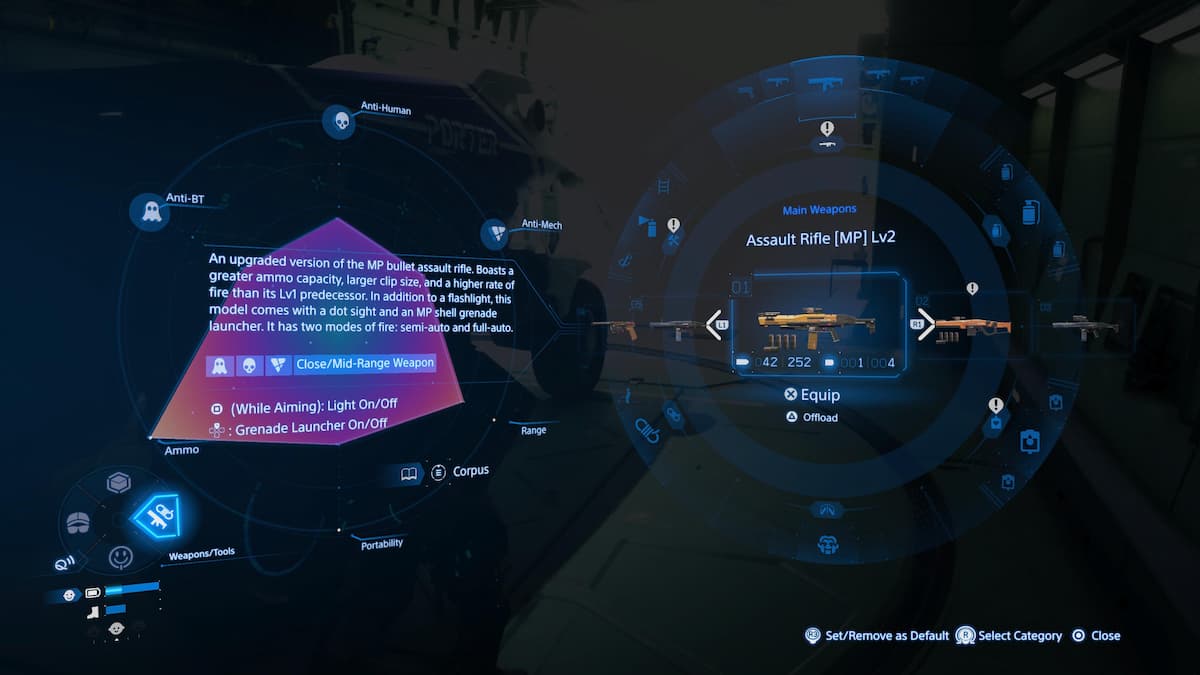
| Assault Rifle (MP) Lvl 2 | C1 South Distribution Center Rank 4 |
| LW Assault Rifle (MP) Lvl 1 | Former Geophysics Research Lab Rank 3 |
| LW Assault Rifle (MP) Lvl 2 | Former Geophysics Research Lab Rank 4 |
| Bola Gun | The Government’s Base Rank 1 |
| Tar Cannon | Rainbow Valley Rank 1 |
| Decoy Hologrenade | Animal Shelter Rank 1 |
| Stealth Hologrenade | Animal Shelter Rank 2 |
| BT Hologrenade | Animal Shelter Rank 3 |
| Blood Boomerang | Northern Environmental Observatory Rank 1 |
| Sticky Cannon | F2 South Distribution Center Rank 1 |
| Heavy Machine Gun | F2 South Distribution Center Rank 1 |
| Grenade Launcher (MP) | F5 East Distribution Center Rank 1 |
| LW Grenade Launcher | F5 East Distribution Center Rank 3 |
| Chiral Cannon | South Fort knot Rank 1 |
| Quadruple Rocket Launcher | F7 North Distribution Center Rank 1 |
| LW Seven-Rocket Launcher | F7 North Distribution Center Rank 3 |
| LW Machine Gun (MP) Lvl 1 | Southern Environmental Observatory Rank 1 |
| LW Machine Gun (MP) Lvl 2 | Southern Environmental Observatory Rank 4 |
You’ll be getting a lot of the essential weapons in Death Stranding 2 just by doing Main Orders for key facilities, but if you want all the upgrades and optional stuff, then you’ll need to spend some time on Standard Orders and lost cargo as well.
How to Rank Up Facilities Quickly
As you can probably tell, trying to reach max rank for every facility is going to be very time-consuming. The good news is that if you play a bit smart, you can make the process considerably less painful. One thing to note is that you cannot use the DHV Magellan to deliver cargo. Doing so will not give you any progress points towards ranking up with a facility. You must carry the cargo yourself, whether it’s on foot, or with a vehicle like the Tri-Cruiser or the Off-Roader. The only time using the DHV Magellan is acceptable is when you need to go back and forth between Mexico and Australia, or if you just want to send Sam somewhere to pick up new Orders (with no cargo).
Here are some tips for ranking up quickly:
- Grab multiple Orders from one location, then plan your route accordingly to save multiple trips.
- Always scan for Lost Cargo you can deliver to the facilities along your route.
- Use the Off-Roader!
Whenever you arrive at a new facility, I’d recommend grabbing all of the Orders available there, even if you’re not going to be visiting the destination anytime soon. The reason for this is because you can store the cargo in the Off-Roader, which is an extremely handy vehicle for mass transporting items. As long as you don’t abandon the Off-Roader, you can keep Sam pretty lightweight when you need to get off the truck to do other things, like fighting BTs.
When you take multiple Orders, take some time to study your map and plan a route that lets you hit up multiple destinations. At each destination, don’t forget to take on Orders there as well, then change your route as necessary. It’s still a painful process, but at least you’ll be getting multiple Orders checked off each time.
Finally, don’t forget to hit L1 to scan for Lost Cargo as you’re driving. These are easy points for ranking up, and they’re along your route anyway, so just grab them.
Best Weapons for BTs
Here’s a bit of good news. Very early on in Death Stranding 2, MP weapons will be able to start damaging BTs, which means that your regular guns like the Assault Rifle and Shotgun will be effective against those horrors. So with that in mind, here are the best weapons to take with your before you go BT hunting:
- Blood Grenade
- Assault Rifle
- Shotgun
- Grenade Launcher
- Machine Pistol
- Blood Boomerang
My favorite item to use here is the Blood Grenade, which is fantastic even for stealth situations when you’re trying to sneak past BTs. The range on this thing is surprisingly good too, as you can hold down R1 for a long throw, allowing you to hit BTs from a good distance. Do note that you’ll need a lot more Lvl 1 Blood Grenades to completely take down a single BT, but the Lvl 2 variants serve as a huge upgrade.
In open combat with the BTs, any of the other weapons will work. My personal favorites are the Assault Rifle and Machine Pistol because I prefer a higher rate of fire, but the Shotgun and Grenade Launcher will pack a punch.
If you want to switch things up a little bit, consider using the Blood Boomerang. It’s not quite as efficient as the regular guns, but it’s a lot more fun to use.
Best Weapons for Humans
Your regular Assault Rifles, Pistols, and Shotguns are great against human enemies too, but there are a lot of other fun tools to use against them. Here are the best weapons for fighting humans in Death Stranding 2:
- SL-LW Tranq Sniper Rifle
- Hologrenades
- Smoke Grenade
Hands down, the SL-LW Tranq Sniper Rifle is the best weapon against humans, especially if you enjoy a stealthy play style. Set up a Watchtower near an enemy camp, mark them all, then start picking them off one by one with the Sniper Rifle. Pair these with any of the Hologrenades you get from the Animal Shelter and the Smoke Grenade from the Lone Commander, and you’re pretty much golden.
Whenever it seems like an enemy is about to spot your position, throw a Smoke Grenade to disorient them and reposition yourself. For even more fun times, consider using the Hologrenade before you start shooting at them. This can dissuade enemies from going to your location, and even if they do, you can always use a Smoke Grenade to get away.
How to Equip and Use Weapons
Weapons in Death Stranding 2 can be treated like any ol’ cargo box. They can be carried on your back, attached to your tool rack, or loaded on your carriers or vehicles. However, I recommend carrying them on your backpack. It’s worth noting that handguns and pistols can be stored in your holster, which helps to save space.
Either way, once you have a weapon on you, hold right on the d-pad to bring up your equipment wheel. Tilt the right analog stick up to access your weapons and grenades, then scroll left and right to select the weapon you want, and press X to equip it.
With the weapon in your hands, hold the L2 button to aim, and press R2 to shoot. You can also press the circle button to reload your weapon. When you want to put the weapon away, simply tap right on the d-pad.
How to Get More Ammo
You can’t actually pick up ammo on the field in Death Stranding 2. This means that when a gun runs out of bullets in combat, you need to get rid of it and use a new gun. The only way to replenish ammo is by resting in a Private Room at a facility or at the DHV Magellan.
With that in mind, I’d recommend bringing a few weapons with you whenever you know you’re about to get into some combat. Generally, I like to pack two main weapons, one pistol or handgun, and two grenade items in my grenade pouch. Don’t forget to pack some Blood Bags as well, which will help you restore health automatically when you get hurt.
And that does it for our Death Stranding 2 weapons guide. Check out our Porter Grade guide as well, if you’re focusing on making deliveries.


